NFT Minting Basics:
What Does ‘Minting’ Mean?
NFT minting is the process of creating a unique digital asset (an NFT) and registering it on the blockchain. When you “mint” an NFT, you’re essentially publishing your digital creation—art, music, video, or even a tweet—as a one-of-a-kind token that lives on a decentralized ledger, most often Ethereum. This process gives you, the creator, blockchain-verified ownership and the option to sell, trade, or showcase your work in the growing NFT ecosystem.
Minting doesn’t just prove your ownership; it can also set royalties, meaning you earn a percentage every time your NFT resells. For digital artists, musicians, and creators, this opens new revenue streams and ways to connect with fans or collectors. With just a few simple tools, anyone can mint their own NFT.
Setup Steps: What You Need Before Minting
Before you start minting, you’ll need a few essentials in place. Here’s what to prepare:
- Digital Wallet: Get a crypto wallet compatible with the blockchain you plan to use (MetaMask, Trust Wallet, or Coinbase Wallet are popular for Ethereum-based NFTs). This wallet stores your NFTs and digital currency.
- Cryptocurrency: Buy some ETH (Ethereum) or another required crypto, depending on your chosen NFT marketplace. You’ll need this to cover “gas fees” (the cost of processing your minting transaction).
- Choose a Marketplace: Decide where you’ll mint and list your NFT. Popular options include OpenSea, Rarible, Foundation, and Zora. Some are invite-only, while others let anyone join.
- Your Digital File: Prepare the digital item you want to mint. This could be an image, audio file, video, or 3D model. Make sure it meets the file type and size guidelines of your marketplace.
It’s also smart to have a short title, description, and (optionally) extra content or unlockables ready to engage potential buyers.
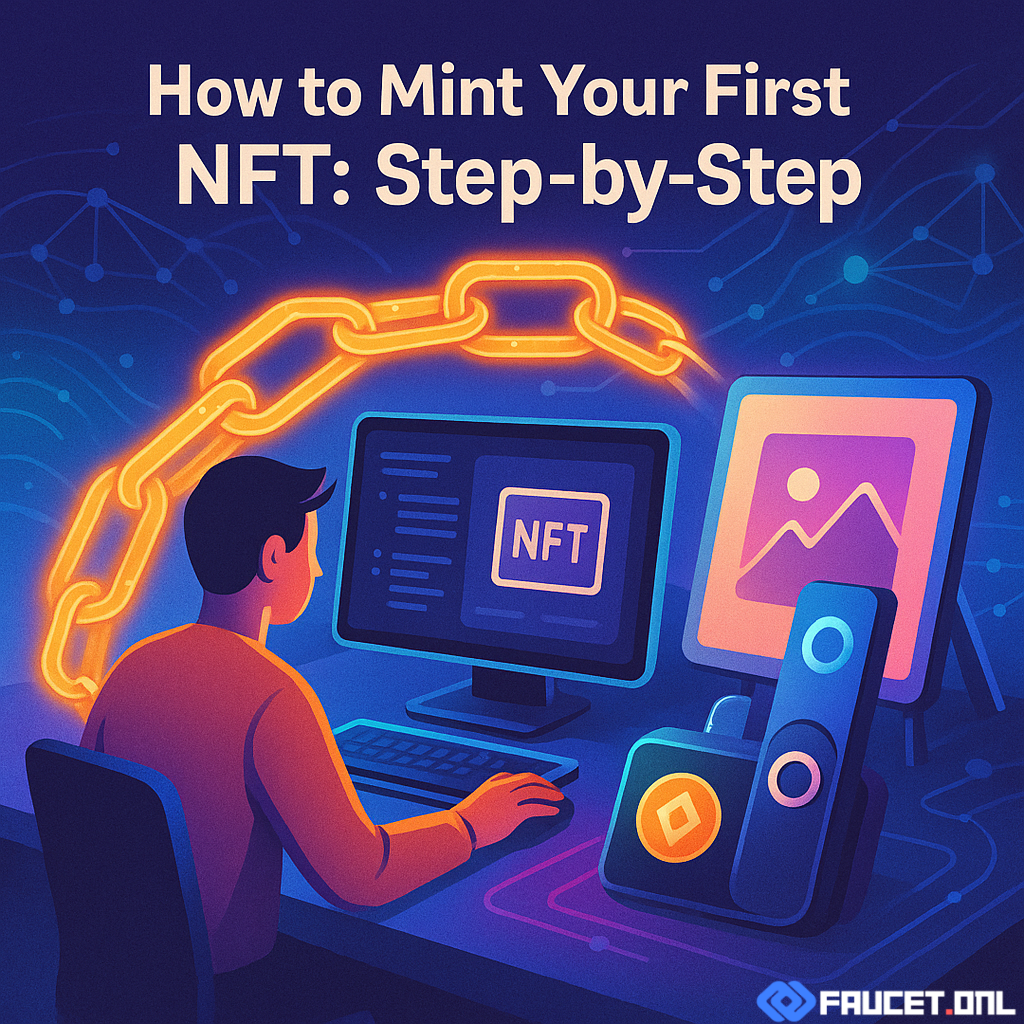
Minting Process: Step-by-Step Guide
Now let’s walk through the actual steps of minting your first NFT. The exact details may vary depending on your chosen marketplace, but here’s a universal guide:
- Connect Your Wallet: Go to the NFT platform and connect your crypto wallet. Most sites have a “Connect Wallet” button at the top.
- Start Minting: Find and select the “Create” or “Mint” option. This opens a form where you’ll upload your digital file and enter details like title, description, and royalties (usually 0–10%).
- Customize Your NFT: Add attributes, tags, or unlockable content if desired. Some marketplaces let you set properties for rarity or extra files for buyers.
- Pay the Minting (Gas) Fee: Review transaction details and approve the gas fee from your wallet. The network processes your transaction and registers your NFT on the blockchain.
- List for Sale (Optional): After minting, you can list your NFT for sale, auction, or keep it in your wallet to showcase or trade later.
Congratulations! Your NFT is now live, blockchain-verified, and ready for the world to discover. Always double-check your details—blockchain transactions are permanent and can’t be edited later.
Risks: What to Watch Out For
While minting NFTs is easy, there are important risks every creator should understand:
- Gas Fees Fluctuate: Blockchain fees can spike depending on network activity. High gas fees can make minting expensive, especially for new creators.
- Copyright Issues: Only mint works you own the rights to. Minting someone else’s content (without permission) is illegal and can get your NFT removed or even lead to legal action.
- Scams & Phishing: Fake marketplaces and wallet scams are common. Always double-check URLs, use official sites, and never share your private keys or seed phrases.
- Low Market Demand: Not every NFT sells. The market is competitive, so don’t expect instant sales or high prices just for minting.
Do your research, start with small experiments, and don’t spend more than you can afford to lose.
Tips: Mint Like a Pro
Boost your NFT minting experience with these tips:
- Engage Your Community: Share your NFT project on social media, Discord, or creative forums before and after minting to build interest.
- Set Royalties: Don’t forget to set a reasonable royalty percentage. This ensures you earn from secondary sales if your NFT gets traded.
- Check Marketplace Policies: Each platform has its own rules for minting, royalties, and content. Read the fine print to avoid surprises.
- Keep Files Safe: Save backups of your original digital files and all wallet details securely. If you lose wallet access, you lose your NFTs!
- Start Small: Mint a few pieces first to learn the ropes. Watch how the market reacts before investing more time and money.
Remember, the NFT world rewards creativity, authenticity, and engagement. Keep learning and experimenting to find your niche.
Conclusion: Ready, Set, Mint!
Minting your first NFT is a big step into the digital creator economy. With the right preparation and security, anyone can showcase and monetize their digital art or ideas. Follow these steps, avoid common pitfalls, and you’ll be minting like a pro in no time. The world of NFTs is waiting—get started today!