Why Wallets? (The Key to Your Crypto)
A crypto wallet is your personal tool for safely storing, sending, and receiving digital money. Think of it as your digital bank account—but where you are the only one in control. Without a wallet, you can’t truly own or use crypto. That’s why setting up your own wallet is the very first step for every new crypto user.
Choosing One: Picking the Right Wallet for You
Wallets come in a few flavors, each with its own pros and cons:
- Mobile Wallets: Apps on your phone (great for beginners—look for Trust Wallet, Coinbase Wallet, or MetaMask).
- Hardware Wallets: Physical USB-like devices that store your crypto offline (Ledger, Trezor—best for long-term and large amounts).
- Desktop Wallets: Installed on your computer (Exodus, Electrum—good if you prefer using a PC).
For most beginners, a mobile wallet is easiest to start with. Always download from the official app store or wallet website.
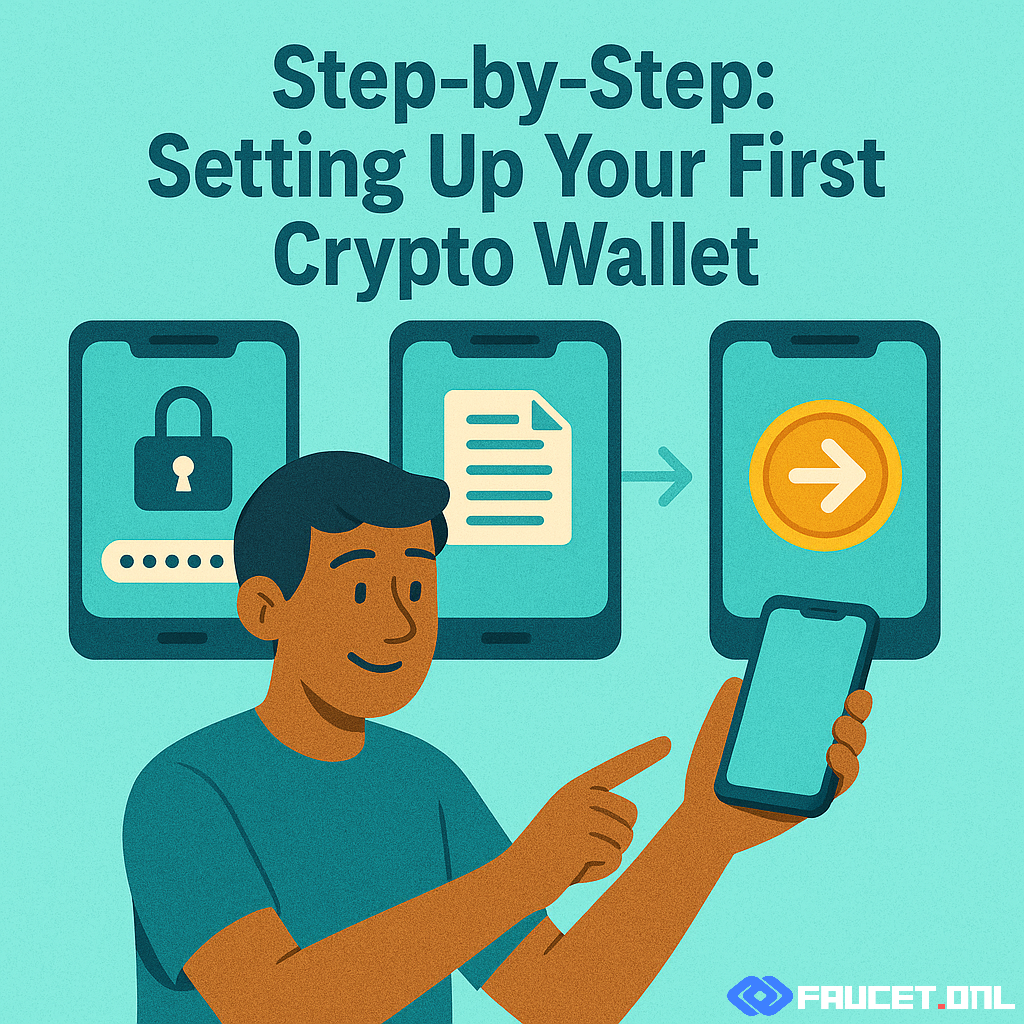
Setup Steps: Your Wallet, From Download to Ready
-
Find and Download:
Go to your app store, search for your chosen wallet (e.g., “Trust Wallet”), and tap “Install.” Make sure it’s the real one—check reviews and the developer name. -
Open the App and Create a New Wallet:
Tap “Create New Wallet.” You may be asked to agree to terms—read and accept to continue. -
Backup Your Recovery Phrase:
The app will show you 12 or 24 secret words (the “recovery phrase” or “seed phrase”).
- Write these words down on paper—don’t save them online or take screenshots.
- You’ll likely need to re-enter the words to confirm you’ve written them correctly.
-
Set a Strong PIN or Password:
Choose a PIN or password for app access. Don’t use your birthday or something easy to guess. -
Access Your Wallet:
You’ll now see your wallet dashboard—often with a big “Receive” and “Send” button, and your wallet’s public address. Congrats, you’re ready! -
Receive Your First Coins:
Tap “Receive” to show your wallet address or a QR code. Copy this to receive your first crypto (even if it’s just a test amount). -
Send Coins:
To send crypto, tap “Send,” enter the recipient’s address and amount, double-check, and confirm.
Looks like a lot? Just go step by step—each screen guides you forward!
Troubleshooting: Common Issues & Easy Fixes
- Can’t Find Wallet in App Store? Double-check spelling, or visit the official wallet website for the right link.
- Recovery Phrase Not Accepted? Make sure words are spelled right, in the correct order, with no extra spaces.
- App Won’t Open? Restart your phone, check for updates, or reinstall from the official source.
- Stuck or Confused? Most wallet apps have a built-in help section or FAQ—check there, or search online for your issue.
Safety Tips: Protect Your Wallet Like a Pro
- Never share your recovery phrase or private key with anyone.
- Keep your recovery phrase on paper, in a safe place—never online.
- Use a unique PIN or password for your wallet app.
- Only use trusted, official wallet apps and sites.
- Test with a tiny amount of crypto first before making larger transactions.
Pro Tip:
Treat your recovery phrase like your house key—whoever has it can take everything in your wallet.
Summary
Setting up your first crypto wallet is the gateway to digital money. With this step-by-step guide, you can confidently install, secure, and use your wallet—knowing you’re in control every step of the way. Take it slow, keep your info safe, and enjoy your first taste of true crypto ownership!